Do’s and Don’ts After Painting Cabinets for a Long-Lasting Finish
So, you’ve just had your kitchen cabinets painted, or maybe you tackled the project yourself. Either way, this fresh update can completely change the look and feel of your kitchen. The way you care for your cabinets in the days and weeks after painting makes a big difference in how long the finish lasts. From […]
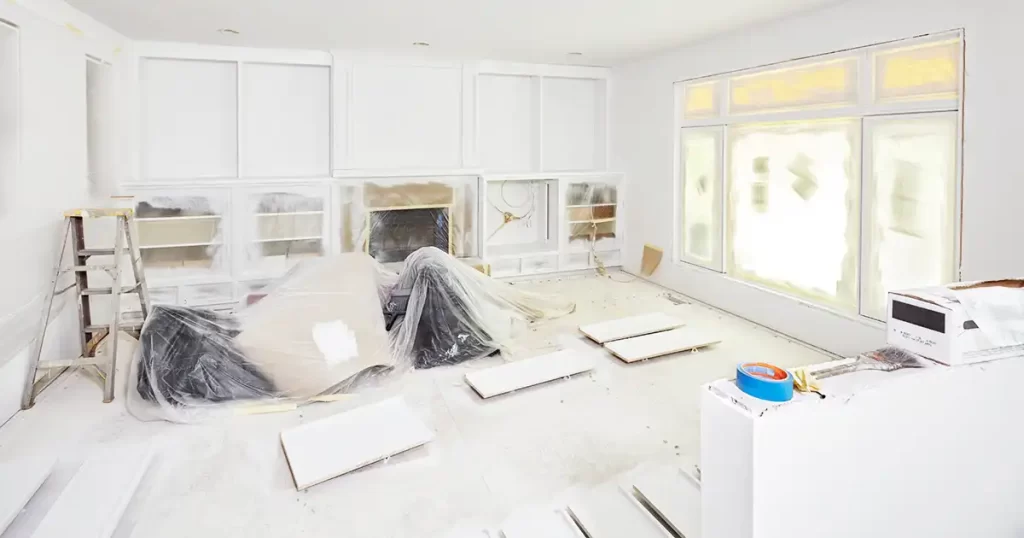
Best Time to Paint Indoors in Wichita
When you think about painting your home, spring or summer probably comes to mind. But if you’re planning an interior project, especially in Wichita KS, winter might actually be the smartest time to do it. The colder months offer a combination of stable indoor temperatures, dry air, and quieter schedules that make painting more efficient […]
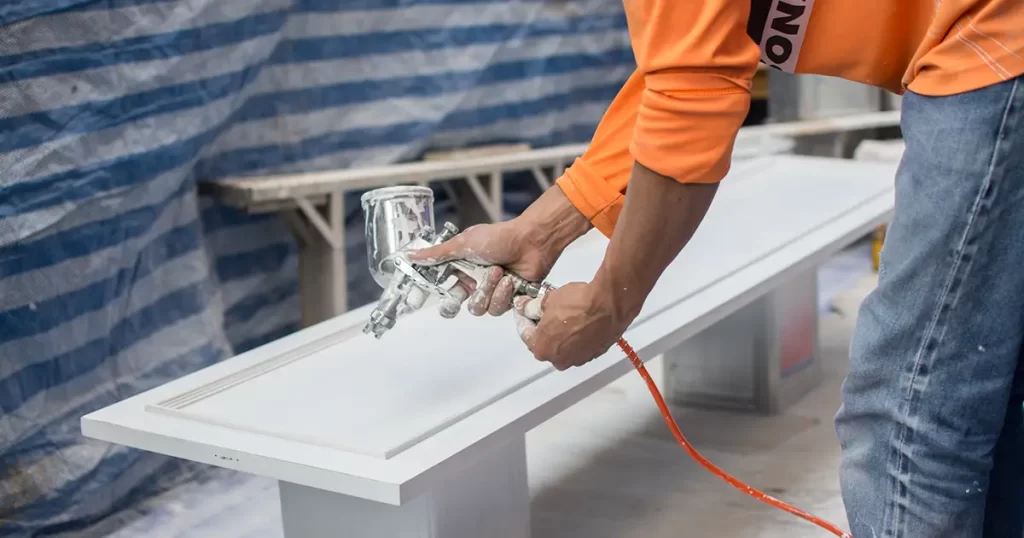
Can I Paint My Kitchen Cabinets Myself?
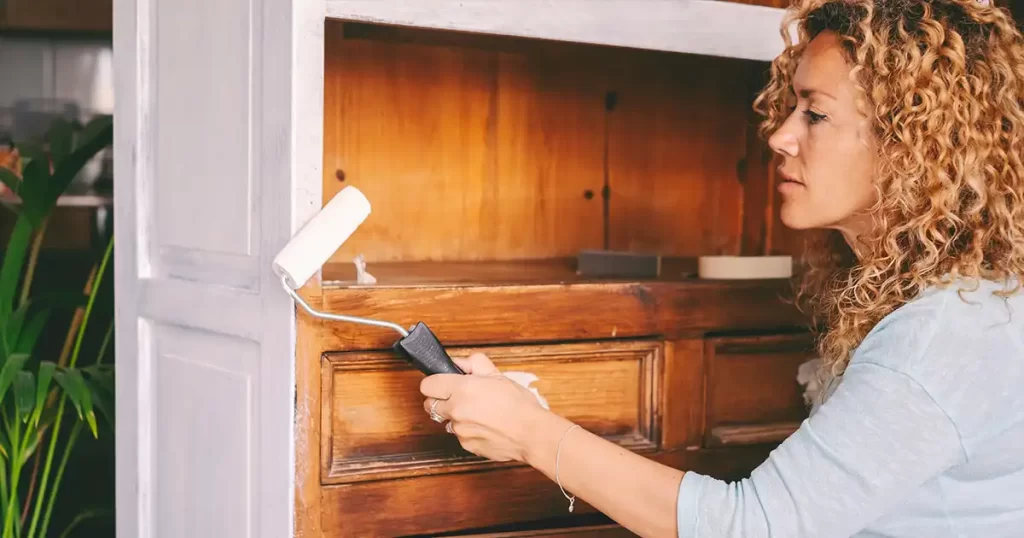
Giving your kitchen a refresh can be exciting, and painting the cabinets often seems like a good place to start. Especially if you’re trying to stay within a budget. On the surface, it looks like a manageable DIY project. But in reality, cabinet painting is one of the trickiest tasks to get right, and it’s […]
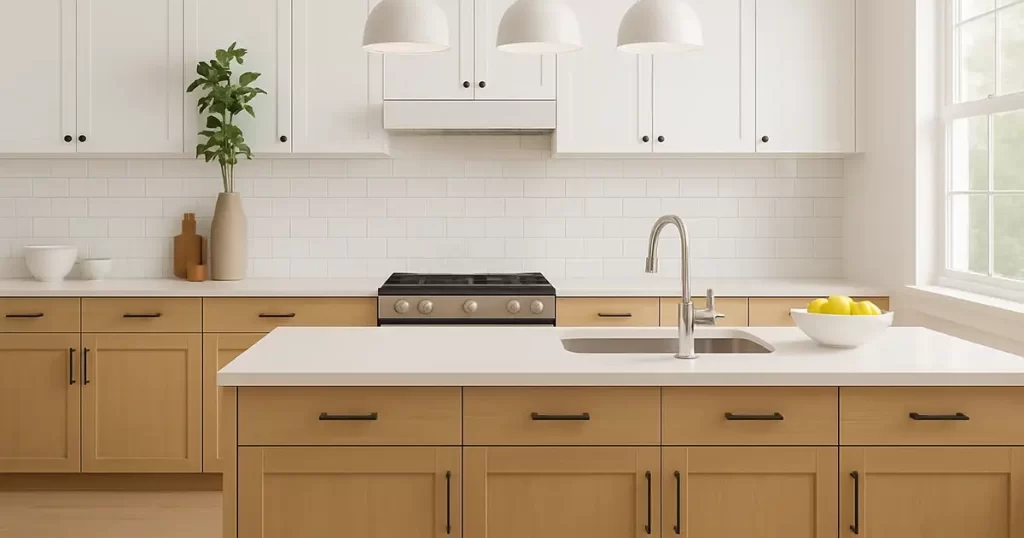
Best Paint for Kitchen Cabinets

Painting your kitchen cabinets is one of the most impactful ways to refresh your kitchen without the cost of a full remodel. But the success of that transformation depends heavily on the paint you use. The best paint for kitchen cabinets will give you a clean, smooth finish that holds up to daily wear, resisting […]
7 Best Paint Colors to Brighten a Room
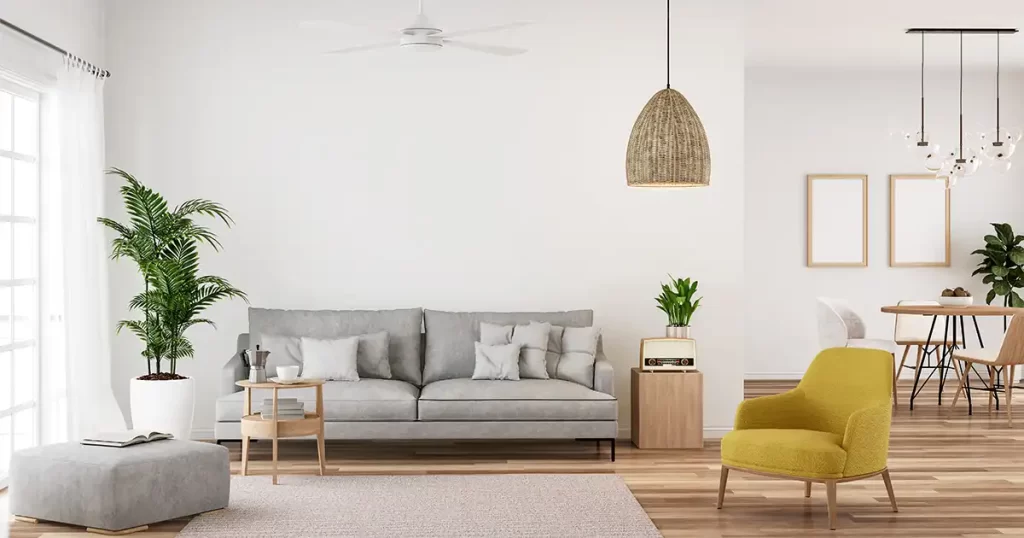
Choosing the right paint color can transform a dim or cramped space into one that feels open, airy, and full of life. Whether you’re working with limited natural light or just want a fresh, airy look, these seven colors are some of the best ways to lighten up any room. 1. Soft Whites for Maximum […]
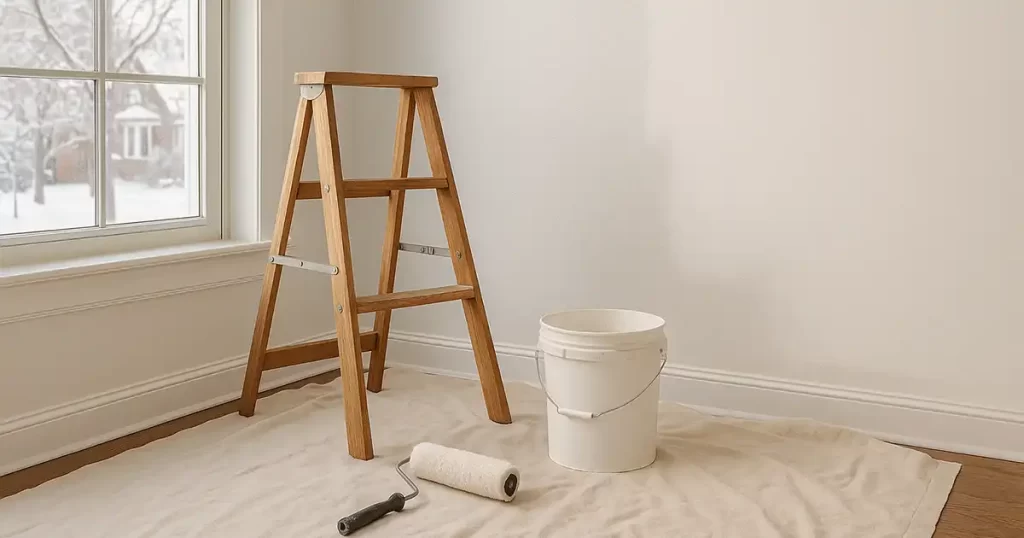
Can You Paint in Direct Sunlight? Best Exterior Conditions

You can paint in direct sunlight, but it’s usually not your best move. Strong sun and high air temperatures rush surface drying, overheat the substrate, and disrupt film formation. The result: lap marks, blisters, early color fade, and a finish that won’t go the distance. Quick guide: Why Sunlight Causes Trouble Sunlight changes how fast […]
Pros and Cons of Painting Kitchen Cabinets
When it comes to the pros and cons of painting kitchen cabinets, there are clear trade-offs. On the plus side, paint gives your kitchen a fresh, modern look for far less money and disruption than replacement. On the downside, it won’t fix deeper issues. If doors are peeling, boxes are water-swollen, or you need more […]
Kitchen Cabinet Refinishing Tips: 9 Options for Your Cabinets

Giving your kitchen a new look doesn’t always require new cabinets. If your layout works and the cabinet boxes are in good shape, refinishing can give you that “wow” factor without the cost of a full renovation. Whether you want to modernize, restore the wood grain, or try something completely different, there’s a solution that […]
25 Stunning Two Tone Painted Kitchen Cabinet Ideas to Try in 2025
If your kitchen needs a refresh but you’re not ready to rip everything out, two tone kitchen cabinets might be the upgrade you’re looking for. Two tone kitchen cabinet trends are especially popular for anyone planning a kitchen remodel, offering a stylish and modern way to transform your space. By using different colors on your […]
Best Exterior House Paint Colors for a Wichita Home
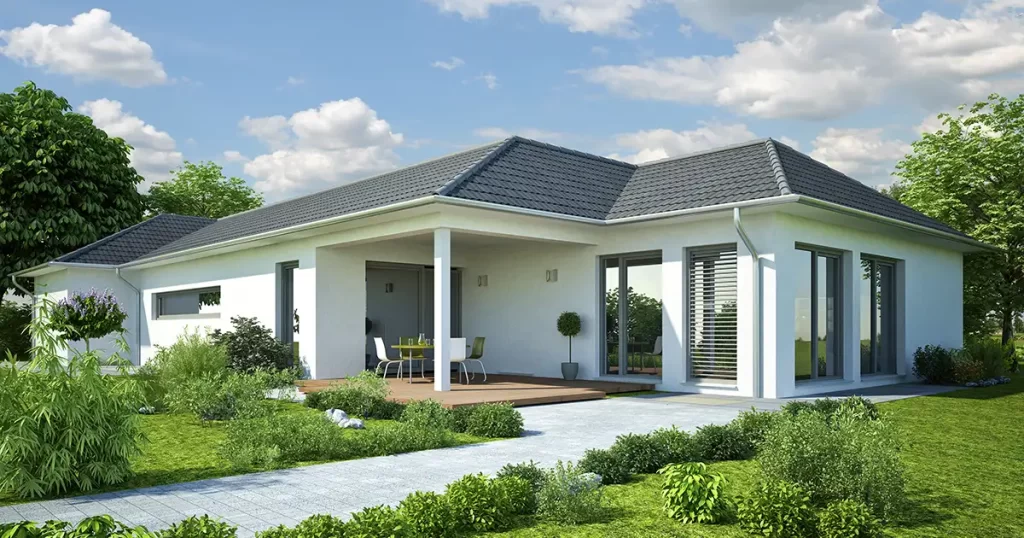
Choosing exterior colors shouldn’t feel like a guess. Wichita’s sun, wind, and freeze–thaw cycles mean your palette has to look good and hold up. We’ll show you color families that look great here, ways to tie them to your roof and masonry, and the paints and sheens that last. Follow the steps, sample smart, and […]