Giving your kitchen a new look doesn’t always require new cabinets. If your layout works and the cabinet boxes are in good shape, refinishing can give you that “wow” factor without the cost of a full renovation. Whether you want to modernize, restore the wood grain, or try something completely different, there’s a solution that fits your style and your budget.
Here are 9 practical kitchen cabinet refinishing tips to help you figure out what’s right for your home.

Preparation: Setting Yourself Up for Success
A successful kitchen cabinet refinishing project starts with thorough preparation.
- Begin by clearing the area around your cabinets, remove everything from countertops and cover them, along with your floors, using drop cloths or plastic sheeting to protect against drips and dust.
- Take off all cabinet hardware, including handles, knobs, and hinges, and set them aside if you plan to reuse or replace them.
- Next, give your cabinets a deep clean using a degreaser like trisodium phosphate to eliminate food residue, grease, and grime from all surfaces. This step is crucial for ensuring that paint or primer adheres smoothly.
- Gather all your materials in advance: you’ll need a high quality primer, your chosen paint, sandpaper for smoothing surfaces, and a soft brush for detail work.
Careful preparation not only makes the painting process easier but also leads to a more professional, long-lasting finish.
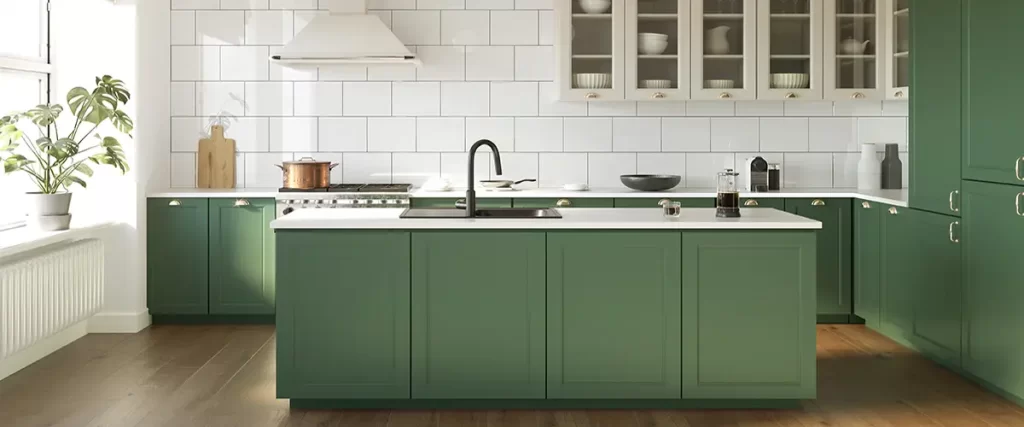
1. Paint Your Cabinets for a Fast, Noticeable Upgrade
Painting is by far the most popular way to refinish kitchen cabinets. It’s budget-friendly, flexible, and lets you transform the entire space just by changing the color and finish. Painting kitchen cabinets can be super easy with the right preparation and products.
If you’re planning to DIY, here’s what the process generally looks like:
- Start with a deep clean. Cabinets collect grease, dust, and food residue, so use trisodium phosphate (TSP) or a degreaser. Be sure to wear gloves to protect your hands from cleaning chemicals.
- Remove all cabinet doors and drawers, labeling hardware for easy reassembly. Paint drawers separately to ensure a consistent finish.
- Fill any holes or imperfections with wood filler and let it dry completely.
- Lightly sand all surfaces, especially if you’re painting over an existing finish. After sanding, use a tack cloth to remove all dust for a smooth surface.
- Prime all surfaces, this step is especially important for wood cabinets and ensures your paint will adhere properly. Using a stain-blocking primer is just what you need for old or damaged wood.
- Choose your paint: try different paint types or brands to find the best finish and durability for your project. High-quality paints designed for cabinets offer excellent adhesion and long-lasting results.
- Paint cabinets using a durable latex or specialty cabinet paint. When painting cabinets, apply the first coat evenly and allow it to dry completely before applying a second coat. Two coats are usually sufficient for an even, durable finish.
- Finish with a clear protective top coat to seal the surface and enhance durability. Applying a top coat is essential for protecting your painted cabinets and ensuring the finish lasts several years.
- Work in a well ventilated area or dedicate a room for painting and drying to promote proper curing and safety.
- After the paint and top coat have dried, inspect for any missed spots and do touch ups as needed for a polished, professional look.
If you want that smooth, factory-style look, a paint sprayer is your best friend. But if you’re going old-school, invest in a good brush and take your time. You’ll get better results and fewer brush strokes.
Best for: Homeowners looking for an affordable way to modernize the kitchen with endless color options. With proper prep and high-quality paints, your painted wood cabinets can look great for several years.
2. Stain Your Cabinets to Show Off the Wood Grain
Staining is an ideal choice for wood cabinets if you want to keep that natural look. It brings out the wood grain, adds warmth, and can dramatically enhance the character of your kitchen.
The process takes a bit of elbow grease. You’ll need to:
- Strip off the old finish with a chemical stripper or sanding
- Before sanding, use wood filler to repair any deep scratches or holes in your wood cabinets, then let it dry completely
- Sand down to bare wood until the surface is smooth and clean
- Apply the stain evenly with a cloth or brush, going with the grain
- Seal everything with a clear polyurethane or lacquer topcoat
It’s worth testing the stain on the back of a door before committing. Wood tones can vary, and the final color may look different once it dries.
Best for: Homeowners who love wood textures and want a warm, timeless look without paint.
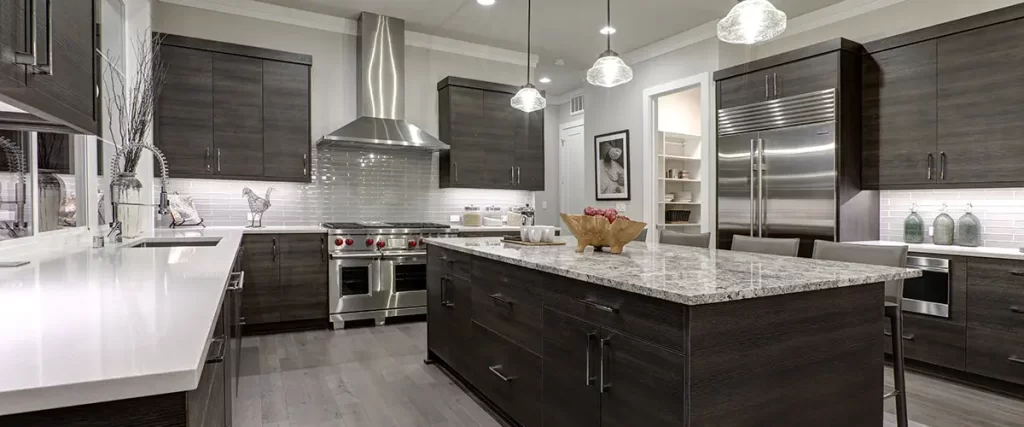
3. Reface Cabinets for a Major Style Upgrade (Without Replacing Everything)
Refacing is perfect when your cabinet boxes are in good shape but the style just isn’t cutting it anymore. You’ll keep the layout, but replace the cabinet doors, drawer fronts, and hardware. As part of the process, drawers are often removed, refinished, or replaced to ensure a consistent and polished look.
A matching veneer is also applied to the exposed parts of the boxes, so the whole kitchen looks cohesive.
This approach gives you the flexibility to:
- Swap outdated doors for modern shaker or slab styles
- Choose from wood, laminate, or thermofoil finishes
- Add new hardware to complete the transformation
It’s more expensive than painting, but still far less than a full remodel. And unlike painting or staining, you’re not limited by the material of your current cabinets, refacing gives you an entirely new look.
Best for: Homeowners who want a big visual upgrade without the cost or mess of replacing everything.
4. Apply Veneers for a Fresh, Custom Look
Veneering is similar to refacing but usually refers specifically to covering the flat surfaces of cabinet boxes with thin sheets of wood or laminate. If your structure is solid but dated, this can give you a premium look without replacing any of the cabinetry.
To do this properly:
- Clean and sand the cabinet frames and sides to prep the surfaces
- Use a strong adhesive to attach the veneer
- Trim the edges cleanly, then seal with a protective finish
Veneers come in a wide range of colors and wood patterns, so you can go rustic, ultra-modern, or anywhere in between. Just make sure you’re using high-quality veneer and adhesive, cheap materials tend to bubble or peel over time.
Best for: Homeowners who like the bones of their kitchen but want a cleaner, high-end finish.
5. Use Gel Stains to Cover an Old Finish
If you want the look of stain but your cabinets already have a finish you don’t want to strip, gel stains might be your solution. They’re thicker than traditional stains, so they sit on top of the surface rather than soaking in, making them great for tricky materials like laminate or painted wood.
They’re also easier to control, especially on cabinet doors with raised panels or detail work.
To get it right:
- Clean thoroughly, then lightly sand the surface
- Wipe on the gel stain in thin, even layers
- Let each coat dry fully before adding another
- Seal with a durable topcoat to lock it in
The finish is less translucent than regular stain, but if you’re working over an existing finish, this approach covers flaws without needing to go all the way down to bare wood.
Best for: Reviving older finishes without starting from scratch.
6. Spray Paint for a Factory-Finish Look
Want that ultra-smooth finish you see in showrooms? Spray painting is how the pros do it. It’s not just about speed, sprayers eliminate brush strokes and give a consistent, even coat that’s hard to replicate with hand tools.
The process is similar to brush painting but with a few key differences:
- Mask off everything, countertops, floors, walls, and appliances
- Ventilate the area well or use a spray booth if possible
- Apply primer, then several thin coats of paint
- Finish with a topcoat for durability
This method takes more setup and gear, but the results are hard to beat. It’s especially effective on flat parts and modern-style cabinet fronts.
Best for: Sleek, modern kitchens where smooth finish matters most.
7. Remove Cabinet Doors for an Open, Airy Feel
If you’re after a more casual, farmhouse-inspired look (or just want easier access to your dishes), removing your cabinet doors is a quick and budget-friendly change. This approach instantly opens up the kitchen and can make smaller spaces feel bigger.
It’s as simple as taking the hinges off and cleaning up the inside of the cabinets. As you remove the doors, stack them neatly along a wall to keep them organized and out of the way during your project. You might want to add a coat of paint or stain inside the boxes, especially if they weren’t meant to be on display. You can also install shelves or bins to help keep things neat.
Keep in mind: this option trades aesthetics for practicality. Everything is visible, which means no hiding mismatched mugs or that one ugly blender.
Best for: People who love a laid-back, open-shelving vibe and aren’t afraid of a little extra organizing.
8. Add a Decorative Glaze for Character and Depth
If plain paint or stain feels too flat, glazing can give your cabinets more personality. A glaze is a thin, tinted layer that you apply over a base coat: it settles into grooves and details, creating an aged, hand-finished effect.
It’s especially striking on cabinet doors with raised panels or trim. You can go subtle or dramatic depending on how much glaze you leave behind when wiping it off.
Glazing takes a little finesse, and it’s not for every kitchen style. But if you’re going for something vintage, rustic, or European-inspired, it adds richness that flat paint alone can’t match.
Best for: Traditional or farmhouse kitchens where you want the finish to have a little more story.
9. Strip and Sand for a Completely Fresh Start
Sometimes the best move is to strip everything back and start clean. If your cabinets are solid wood and covered in years of paint or stain, stripping them down to bare wood gives you a blank canvas to work with.
This option takes the most labor and patience, but it also offers the most freedom. Once you’ve removed the old finish and sanded everything smooth, you can choose to paint, stain, glaze , whatever works for your style.
Just be ready for dust, chemicals, and some solid elbow grease.
Best for: DIYers who want total control and aren’t afraid to put in the time.
Choosing the Right Paint and Materials
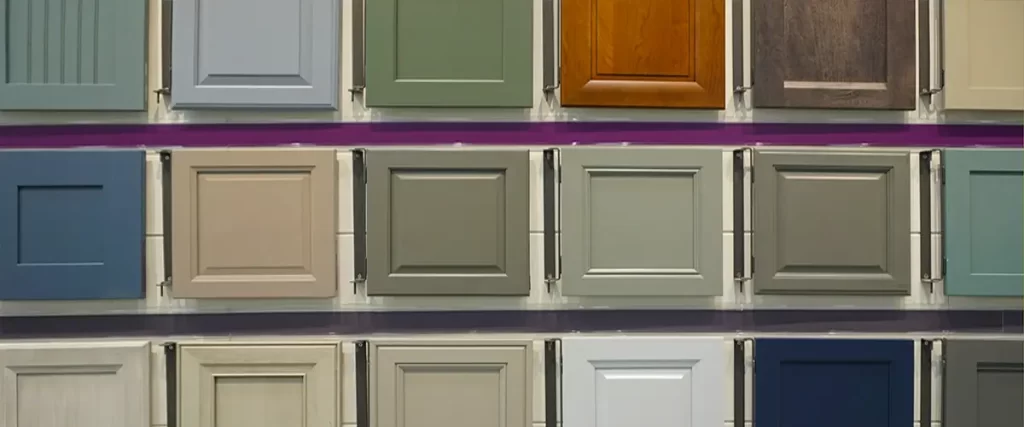
Selecting the right paint and materials is key to achieving a beautiful, durable finish on your kitchen cabinets. Look for paint products specifically designed for cabinets, as these offer excellent adhesion, stain resistance, and are easy to clean.
A high quality primer is essential for preparing the surface and ensuring your paint bonds well, especially if you’re working with previously finished or glossy cabinets.
For the painting process, gather sandpaper to smooth out imperfections, and use brushes or rollers suited for your chosen paint type, latex paint is popular for its durability and easy cleanup, while oil paint can provide a hard, long-lasting finish.
Don’t forget a protective topcoat to seal in your fresh paint and make cleaning a breeze. Always follow the manufacturer’s instructions for each product to get the best results for your project.
DIY vs Professional Refinishing: Which Is Best for You?
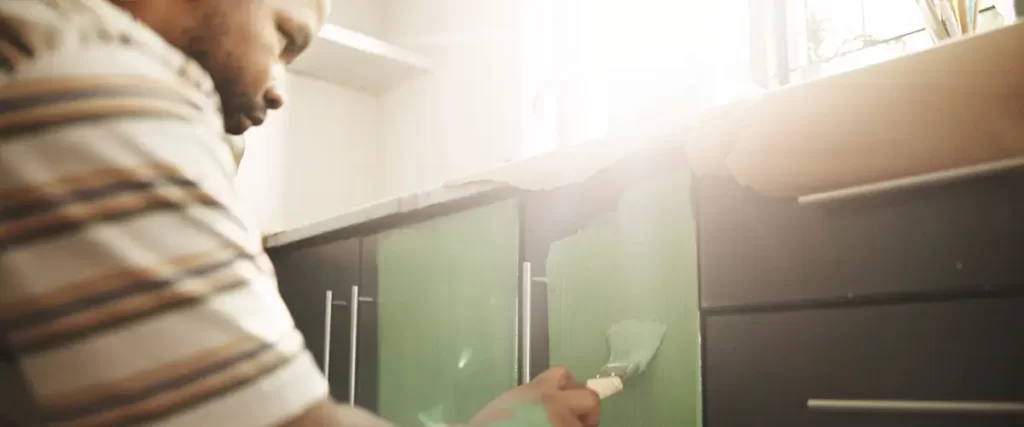
When it comes to refinishing kitchen cabinets, deciding between a DIY approach and hiring a professional depends on your goals, budget, and comfort with the process.
Tackling the project yourself can be cost-effective and rewarding, especially if you enjoy hands-on work and have the time and patience to see it through.
DIY refinishing allows you to control every detail, from paint selection to the final brush stroke. However, it does require careful preparation, attention to detail, and a willingness to invest effort into each step.
On the other hand, professional refinishing offers a high-quality finish with less hassle and a faster turnaround. Experienced pros have the tools and expertise to handle tricky surfaces and deliver flawless results, but this convenience comes at a higher cost.
Consider your skills, available time, and the look you want to achieve when choosing the best path for your kitchen cabinets.
Which Option Is Right for You?
Every kitchen is different. So are your goals, timeline, and budget. Here’s a quick breakdown to help you figure out where to start:
Budget-Friendly Updates
If cost is the main concern, these methods give great results without much investment:
- Painting – A few cans of the right paint products go a long way
- Staining – Perfect for real wood, especially if you love the grain
- Stripping/Sanding – Great for restoring original wood, assuming you’re up for the work
Fast Transformations
Need results quickly?
- Refacing – A fresh look in under a week with new cabinet doors and hardware
- Veneers – An easy way to update the outer surface of your cabinet boxes without major construction
High-End Looks
If you’re going for sleek, magazine-worthy results:
- Spray painting – Smooth, factory finish with zero brush marks
- Premium veneers – Mimic the look of expensive custom cabinets
Unique or Creative Finishes
Want your kitchen to stand out a little?
- Glazing – Adds character and depth
- Open shelving – Functional, casual, and very on-trend
Final Kitchen Cabinet Refinishing Tips
Whichever method you choose, keep these things in mind:
- Don’t skip cleaning. Start every project with a grease-free surface.
- Prep matters more than anything. The smoother your sanding and priming, the better your finish will look.
- Test products first. Paint, stain, or glaze , try it on the back of a door or scrap piece before committing.
- Go slow. Rushing between coats can ruin your results. Let everything dry completely.
- Protect nearby surfaces. That includes countertops, floors, and walls. Drop cloths and painter’s tape are your friends.
Refinishing takes effort, but when done right, it can completely transform your kitchen without touching the layout or replacing cabinets.
FAQs
What’s the easiest way to refinish kitchen cabinets on a budget?
Painting is the easiest and most affordable method. With the right tools and a little time, you can get a fresh, modern look for a fraction of the cost of replacing.
Can I refinish cabinets that aren’t real wood?
Yes , you can paint or use gel stain on laminate or MDF, as long as you clean and lightly sand the surface and use a bonding primer.
How do I get a really smooth finish?
Use a paint sprayer, apply thin coats, and sand lightly between each one. Don’t skip the topcoat , it protects the finish and makes it easier to clean.
Should I reface or paint?
If you like your current doors and just want a color change, paint is the way to go. If the doors are outdated or damaged, refacing gives you a completely new look.
How long does refinishing usually take?
It depends on the method. Painting can take a few days. Refacing might take a week. Stripping and staining can stretch out over a couple weekends if you’re DIYing it.
Call Us for a Hassle-Free Kitchen Transformation
If your cabinets are worn, outdated, or just not your style anymore, it might be time to refinish, and Roll Call Painting is here to help.
We specialize in cabinet painting and refinishing for homeowners across Wichita, KS.
Whether you want to paint kitchen cabinets, restore natural wood grain, or start fresh with refacing, we’ll walk you through your options and handle the hard parts for you.
We believe in clear communication, lasting results, and never cutting corners. Our team uses high quality primers, durable topcoats, and attention to detail that shows in every finish.
Call us at (316)-800-6994 or contact us online here to schedule your free in-person estimate.
Let’s bring your kitchen back to life, with results that look great today and still feel fresh years from now.